7-Step Plan For Buyer’s Guide
Introduction
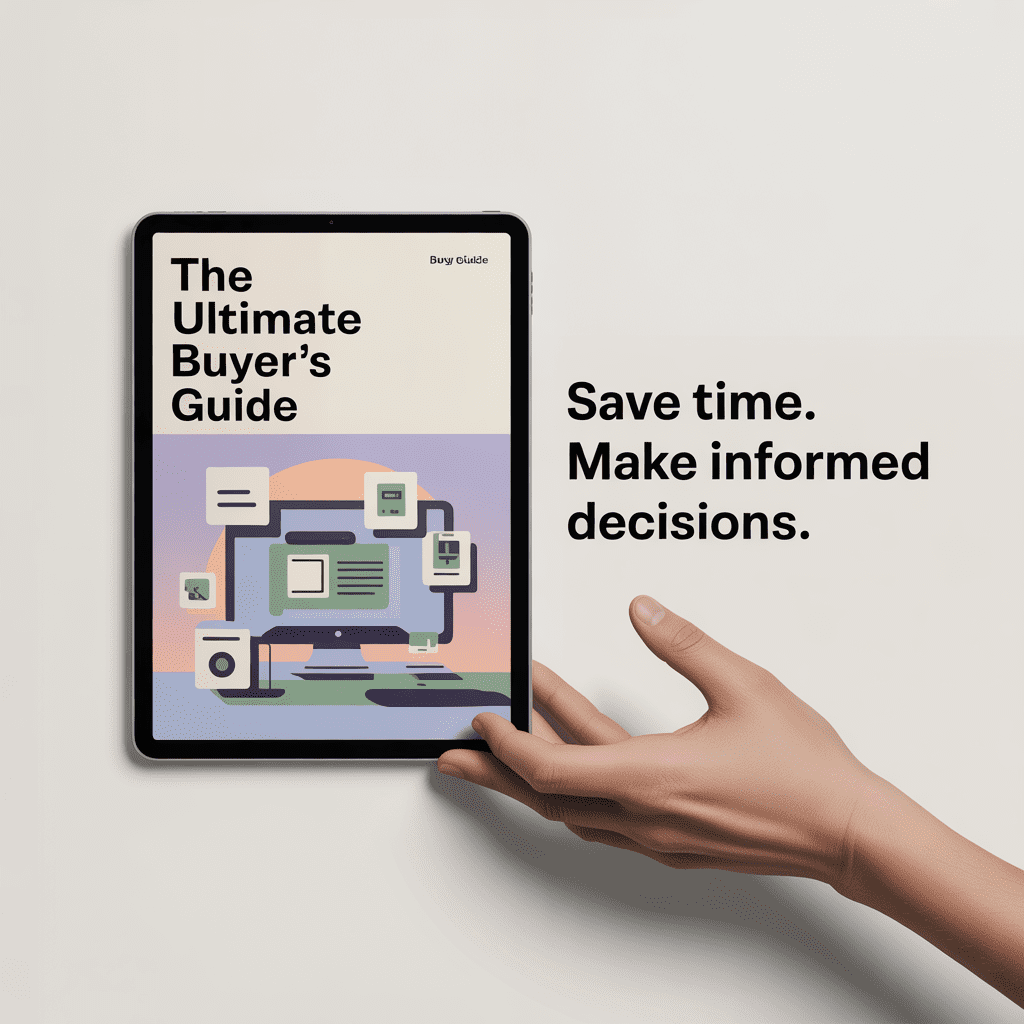
A buyer’s guide is a great lead magnet or freemium to offer to your prospects and customers. That’s because it saves people in your niche a lot of time.
They don’t need to research every tool from scratch – all they have to do is look at your buyer’s guide to quickly uncover the best tools available.
And here’s something else…
Creating a buyer’s guide is really beneficial for you too. That’s because it’s a great way for you to generate sales effortlessly.


Just distribute your buyer’s guide for free, and then watch sales come in on the backend.
So how do you create something like this? Simple – by following this seven-step plan. Take a look…
Step 1: Decide What You’re Going to Sell
The first thing you need to do is decide what primary product you’d like to sell (and feature) in your guide. For example, do you have a tool you’d like to include?
Do you have a resource you’d like to feature where people can get more information?
Now, obviously, you may have a few products in mind that you’d like to promote. For now, however, just focus on one primary tool.
That way, you can design a guide around that main tool, resource or other product you’d like to promote.
Which brings us to the next point…
Step 2: Brainstorm What Kind of Buyer’s Guide to Create
Now that you know the main product you’d like to feature, your next step is to figure out what kind of buyer’s guide to create. You have three general options:
- Create a buyer’s guide focusing on just one set of tools or resources. For example, let’s say you wanted to create a buyer’s guide for marathon runners. And let’s suppose you wanted to promote a pair of shoes. In this example you might create a shoe-buying guide. There would be no other gear listed (no compression socks, no water bottles, no moisture-wicking shirts) – just shoes.
- Create a buyer’s guide focusing on the tools needed to complete one step or task in a process, or otherwise focusing on one area. In this example, let’s suppose you were creating a buyer’s guide for online marketers. You might take just one step – such as setting up a blog – and present the tools for that step. Areas covered in this guide might include choosing a blog platform, choosing a theme and choosing plugins.
- Create a buyer’s guide to cover an entire process. Let’s say you were creating a buyer’s guide for online marketers. Here you’d offer a variety of tools, such as payment processors, autoresponders, content management systems, advertising venues, outsourcing resources and more.
For our purposes (the goal being to sell a specific product), I’d suggest you go with the second option – and that’s what we’ll talk about here in this guide.
That way you can focus on promoting your primary tool. Let me give you a few more examples of this type of buyer’s guide…
- A buyer’s guide for marketers who are setting up a mailing list.
- A buyer’s guide for competitive bodybuilders who need the right oils and hair removal products to accent their muscles for competitions.
- A buyer’s guide for RVers that shows them how to get connected while on the go, including TV and internet service.
- A buyer’s guide for gardeners full of products for getting rid of pests.
- A buyer’s guide for computer owners which shows them how to secure their computers (firewalls, anti-virus software, etc).
You get the idea. Next step…
Step 3: Research Tools To Include In Your Buyer’s Guide
You already have at least one tool in mind that you want to promote. Now you need to research other tools in your guide.
If you’re very familiar with your niche, you may already know what tools to include. If not, then you’ll need to do some research. Here are a few ideas…
- Survey prospects and customers in your niche to learn more about what tools and resources they use.
- Survey your colleagues to find out what tools they use.
- Search Google for task-specific tools. (E.G., “List of autoresponders” or “best harnesses for mountain climbers.”)
The second thing you need to do is research each tool to be sure it’s a solid product with a good reputation.
Ideally you should use the tool or resource for yourself – i.e., take it for a thorough test drive.
Next…
Step 4: Organize The Guide
Now that you have your list of tools that you’d like to promote, it’s time to set about the task of organizing the guide.
Your top goal at this step is to make sure that the primary tool you’re promoting is featured in a prominent place within the guide.
Hint: when you’re organizing your guide, keep the recency and primacy effect in mind.
This effect says that the first and last items on a list tend to be remembered better and/or deemed as more important to readers.
So that means your featured tool should appear right at the top of your guide, and perhaps at the end too.
Indeed, you may want to start your guide with a “Featured Tool” page that talks exclusively about the tool you’re promoting.
Then you can mention it again within the guide itself, where appropriate.
What you’ll want to do is organize your guide in logical manner.
For example, if you’re writing about how to set up a blog, then you’ll present the tools in the order that the person would need to use them. For example:
- CMS platforms
- Themes
- Plugins
Here’s another example. Let’s suppose you’re offering a buyer’s guide for runners. Your guide might be ordered:
- Socks first…
- Then shoes (so people can see how the shoes fit with the chosen socks).
- T-shirts.
- Reflective vests.
In other words, think of the step-by-step process your prospect needs to go through to complete a task, and then present the tools in the chronological order.
Where appropriate, create categories (e.g., “shoes, “socks,” etc) for quick referencing.
Next…
Step 5: Create The Guide
Now that you’ve chosen the order and created categories, it’s time to create the guide.
For each category you’ll want to tell your buyer what to look for and what to avoid in a particular product or service.
Let’s suppose your guide covers email service providers/autoresponders. You’d start out this section of your guide talking about major features such as:
- How many autoresponders you can set up within an account.
- How many subscribers you can have per account.
- Whether the autoresponder has a tagging feature.
- Whether the autoresponder employs automation rules.
- Whether you can segment a list easily.
- Whether the autoresponder has built-in tracking tools.
For each feature, you’d then tell your reader what to look for (and why) when they’re shopping.
For example, you’d let readers know they absolutely want an autoresponder with built-in tracking tools, as that makes it easier to improve the conversion rates on email campaigns.
Next, you’d then list the tools in each of your categories, and write a paragraph or two about how each tool measures up in terms of the most important features you listed earlier in the guide.
TIP: You might consider sharing this information in a graphic as well as within the text.
For example, make a simple table with a list of features across the top, and a list of service providers down the side.
Then put an “x” or a checkmark in each box to show whether a particular service has a particular feature.
Finally, be sure to tell readers which tool is best for which type of people.
For example: “Aweber is a great tool for small business owners because [insert reasons].” Or “GetResponse is a great choice if you’re an author or blogger, because [insert reasons].”
In summary, here’s what your guide looks like:
- An introduction to the major features of a category of products or services.
- What buyers should look for with regards to these features.
- A list of products or services, along with notes about whether they have the major features.
- A note alongside each product or service to let buyers know what type of person would benefit the most from the product or service.
And then, of course, you need to provide a link and call to action next to each tool (e.g., “Click here to see if Aweber is right for you…”).
Now remember, there is one primary tool that you’re promoting. You should provide plenty of benefits, a strong recommendation for that tool, and specific call to action.
In other words, make it clear that the tool you’re primarily promoting is the one you give the highest recommendation to – and be sure to tell readers why it’s the best tool on the market.
TIP: Even though you’re primarily promoting one tool, be sure to include affiliate links to the other tools in the guide.
It’s best if you use a redirect link that goes through your domain and then redirects to your affiliate link.
That way, if you ever change your mind about a tool or if it goes off the market, you can change the link on your end to something else.
That prevents you from having thousands of guides floating around with a link to a product that you no longer recommend or one that’s no longer available.
Next…
Step 6: Double Check Everything
This step is easy – simple go through your entire guide and do two things:
- Proof it. Check for spelling errors, grammatical errors, factual errors and other problems.
- Check links. Be sure to click on every single link to be sure it’s working properly.
And then…
Step 7: Convert and Rebrand It For Your Partners
Your final step is to convert it into an easily downloadable format such as a .pdf. Your computer may already have these conversion tools available.
If not, you can use any number of free tools available (such as CutePDF.com), or professional tools such as those available at Acrobat.com.
The second thing you’ll want to consider is creating rebrandable versions for your marketing partners. In other words, let them put their affiliate links into your guide.
If anyone buys one of your tools, then both you and your marketing partner make money.
TIP: You can create these rebranded versions manually for select marketing partners. Or you can use a rebranding tool, such as the one at http://download.cnet.com/Pdf-Rebrander/3000-18497_4-75317160.html. Alternatively, search Google for “pdf rebranding” to uncover still more options.
Simple, right?
Closing Thoughts
You just discovered a simple seven-step plan for creating your own buyer’s guide that helps you build your list and create sales on the backend.
Now that you have a plan, it’s time to put it to work for you. Because the sooner you do, the sooner you can start enjoying rewards!